So, you’ve perfected your recipe, and it’s so good, you’ve earned bragging rights, but before you add it to your collection, you really need to have a picture that’s worthy of your delicious masterpiece. In order to present it as delectably as you can, you need to create a mouth-watering image.
There is actually a lot more behind-the-scenes planning and thinking than simply making a meal and snapping a pic in the hopes it will come out as picture perfect - like a photo in a magazine. In fact, a whole team of people often creates professional food photography, but the two most important roles include a food stylist, who is responsible for placing the food, creating composition, setting a theme and making everything look absolutely perfect. The second major role, is that of a photographer, who is by no means allowed (by the stylist) to overstep the boundaries and touch the food, but what they do is capture the food and work with lighting, angles, backdrops, field of view, etc.
If that sounds intimidating, don’t sweat it! In order to create sinfully delicious imagery, you don’t need to have a team of professionals. In fact, you don’t even need a fancy camera or expensive lighting equipment—but if you do have them, they can definitely help. By implementing some simple tricks and makings some careful considerations you can bring your food pictures to the next level, and you can successfully pull off both roles yourself. There is no right or wrong when it comes to artistry, get creative. With practice and experimentation, you can develop your skills and create the most tantalizing imagery that will look so appetizing it will tickle anyone’s taste buds.
Your Role as The Stylist
The food prep always has to come before the photography so the first role you need to play is the stylist. Like a chef, stylists are very careful when plating the food. Each ingredient is chosen, cut and placed very carefully in order to create tantalizing compositions on the plate. In order for you to create your food masterpiece, there are some things you can experiment with to enhance the overall sensory experience of the person receiving it, without going crazy by cutting out little tiny fruit baskets or creating ornate chocolate marble decorations on your plate - at least not yet...
Plating & Presentation - The plate or dish is the frame of presentation. It can add to the theme, give it a punch of colour contrast, and the shape and size of the plate also come into play. Perhaps you want to shoot your food without a plate, such as on a solid stone surface, brown parchment paper, on a wooden cutting board, an interesting place mat or rough surface. Sometimes, even a takeout container works wonderfully! These are all options to explore. Just try your best to choose something that works well with the food or theme you are shooting.
Note: The pictures below show how overhead shots can have a completely different look and feel based on the presentation, backdrops and colours presented.


Colour Considerations - Aim to create some sort of visual balance in your food by providing colour contrast. For example, if you have a delicious dish full of greens, adding a punch of colour such as red (the complimentary) or it’s analogous colours, orange and/or yellow, will make the food pop a little more. People eat with their eyes before they eat with their stomachs, so by creating rich colour contrast, the food is more visually appealing and appears more tantalizing. Not to mention, healthy — the more colourful the food, the more vitamins and minerals are present—making the dish more nutritious, always a bonus!


Tip: Some colours are more enticing than others, green is often earthy, healthy and cooling. Red is vibrant and exciting and the colour of love and passion whereas black is simple, sleek and sophisticated. Veggies (and sometimes fruits) should be complemented with other coloured veggies or garnished with something to create contrast; and they tend to look better when they aren’t clustered together but spread around more naturally; cutting them to different shapes and sizes can also make them look more appetizing. Brown and blue can sometimes act as appetite suppressants and should be used carefully or mixed with other bright colours respectively.
Note: Compare and contrast the two bright and vibrant pictures above with the dull and pretty unappealing bowl of blueberry almond porridge with coconut. It was a delightfully tasty dish, but definitely lacks the visual taste appeal the others have.

Garnishes - Garnishes are used to enhance the overall composition and presentation, making the food more visually appealing - but also adding flavour, texture and a punch of colourful decoration. For both food and drinks, it’s generally best practice to use a garnish that reflects & complements the ingredients. For example, a piece of rich, moist, dark and delicious After Eight cake might have a fresh mint sprig with chocolate shavings or an After Eight mint and chocolate decoration on the plate.


Avoid garnishing with non-edible items and keep the garnish as a garnish—it’s not there to overpower the dish. Keep them small, light and minimal as it’s role is to make the presentation more beautiful.
Tip: Sometimes garnishing can be done simply with the ingredients. If you have something like a delicious bowl of porridge with all sorts of ingredients already mixed in, set some aside before you take a pic and carefully place them on top to showcase all the delicious flavours. Or if it's just for the photo, you can even just try sprinkling some on a spoon.

Texture - Create visual harmony on your plate by incorporating contrast between lights and darks, soft and hard, smooth and course, liquid and solids, etc. Varying textures add tons of visual interest and enhance the visual presentation. An example could be a thick and creamy smoothie bowl topped up with fresh fruits and nuts, or you can play with texture between the food and the plate or backdrop.

Clean & Tidy - A stylist, as does a chef, takes great pride in creating each plate. The food is never slopped on, but rather carefully arranged. Sometimes we want ingredients to look scattered but even still, they have been carefully placed. Food is often contained within the rim but should never appear crowded on the plate. Sometimes the ingredients are organized around the plate creating a design. Generally speaking, less is more when it comes to keeping things looking clean, appetizing and presentable.

Now that we've covered some considerations to make when styling and presenting your food, we shall move on to role number two...
Your Role as The Photographer
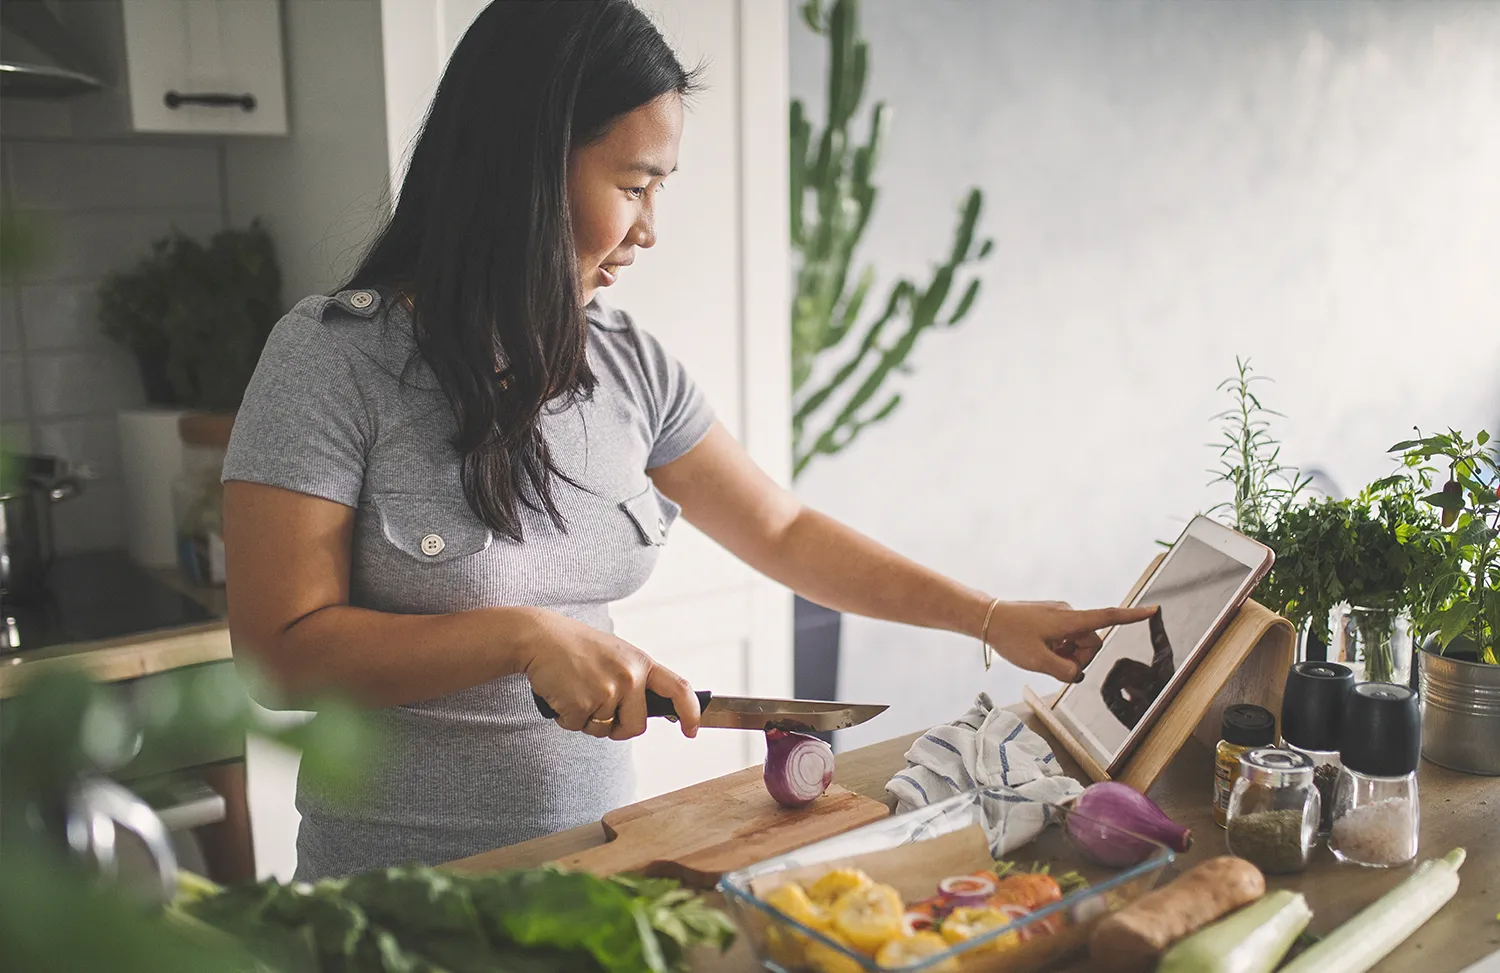
Before you begin, know that it's perfectly acceptable for you to not have a professional camera. Using your smart phone is still better than not taking any picture at all, and the more comfortable and passionate you are with your food photography, the more inclined you might be to make that investment one day if you haven't already. What matters most, is that you take a picture and know how to work it. First off, you can shoot anywhere, from restaurants, tile floors, streets, and even out in nature. Personally, I'm a fan of all of these things, but nothing beats a kitchen for shooting your food when you're trying to show food at it’s best and it’s freshest.
Before you begin shooting, decide what you wish to accomplish, sometimes it may be in your best interest to have an extra dummy dish to practice on before you shoot your perfectly plated ‘hero dish’. This might save you a lot of time and agony if you don’t get things just right the first time - especially if it's for something professional or published rather than for personal or more casual purposes.
About Angles
Note: some food bloggers only shoot from one angle, for example, on a white marble backdrop; this is there trademark and in this case, it’s acceptable and necessary in order to maintain the consistency and integrity of their brand.
With that note said, this doesn’t always allow for the food to be shown at it’s best. Food, like people has more flattering angles. If you have a layered salad in a glass bowl, shooting from overhead will not properly showcase the colourful layers of ingredients. Also, consider working with perspective, if you’ve got a row of cupcakes or a tray of perfectly aligned baked cookies, shooting from a slight angle above can create a shallow depth of field and also produce really nice lines that lead the eye.

Learning Lighting - Fact: You don’t actually need to have fancy lighting equipment or a professional set up to take fabulous photos. You really only need to have one light source: Mother Nature, a.k.a. the sun, which works wonders. You can make a perfectly good setup by placing your setting by a brightly lit window.

Unfortunately schedules and weather patterns aren’t always on your side, so there are a few tricks you can try to avoid to nasty glares, reflections or extremely dark and unidentifiable food items. Artificial lighting is tricky; if you must shoot at night and you don’t have a fancy flash bulb, reflector and light diffuser like the pros, there are some things you can do to still get a decent shot with what you've got:
- Avoid overhead light sources, you will get a glare and no matter how much post editing you do - it will not go away.
- Avoid dark, long cast shadows by using more than one light source. You may need more than two or to bounce light with a reflector.
- Avoid your camera’s flash. This will often create a nasty glare as it reflects off of the plate or food.
- Avoid getting yourself in the reflection on spoons, glasses, plates or anything else whenever possible. This may mean moving somewhere else, shooting from a different angle or somehow concealing yourself.
Try diffusing the light - Artificial light is often really harsh and yellow. You can create your own diffused light source very cheaply by covering the light bulbs with a white pantyhose while shooting or try using different bulbs, your everyday light bulbs or fluorescents are not your food photography friends.
Try Reflecting - another way to avoid long cast shadows without necessarily using another light source (or in addition to). You can create your own reflector very easily and cheaply by making your own. Use a white semi-glass Bristol board or even try something shiny like a mirror. These tools will create different types of reflections, so you are the judge as to what works best for your picture.
Interesting Ingredients - Sometimes a delicious meal doesn’t come out looking as lovely as it tastes, in which case, another option is to just shoot the ingredients. This provides a wholesome whole food feel and is appealing to the more holistic crowd who will likely appreciate these work-in-progress shots. Experiment with whole ingredients and even ones that are slightly cut, chopped, crumbled and mixed. This is commonly practiced by food bloggers.

Cut & Crop - There’s no reason you have to use the entire image. Cropping is a great way to frame an area, focus attention, or remove part of the picture by cutting and cropping to improve composition. This technique comes in especially handy if there are unwanted glares, messy areas or things you just didn’t notice when you took the picture. This technique is also nice to use when changing the format or dimension of the picture.

Post Production - Obviously the intention is to take a perfect picture the first time, so don’t use postproduction as a crutch. If there is a spill on the plate or food out of place, fix it before you take the shot. However, even the pros beautify their photos with some postproduction. This often involves colour correction, increasing or decreasing saturation, adjusting lighting, cropping, adding blurs or filters; all of which can be done in many ways using editing applications like Photoshop, LightRoom; other editing software or even cell phone apps like Instagram. This is just scratching the topic on the surface, as there is a whole world of possibilities for photo perfection awaiting…but before diving in, the first thing to focus on is making your food photography as picture perfect as you can the first time around.

Get Creative - These are all just guides. There are no rules, rights or wrongs in which you must abide. If something sparks your interest, try it; maybe you can pioneer at it. Have fun and if you have any comments or questions, please feel free to get in touch. I’ll be happy to help or answer your questions as best as I can.


Help your clients achieve their results faster
Consumers needs are changing, don't be left behind.
Join today.
Related posts

Why Working With a Registered Dietitian Produces Better Health Outcomes

Why Meal Planning Is One of the Most Evidence-Backed Nutrition Habits
.jpg)